Bite into these irresistible garlic parmesan cheeseburger bombs, pillowy dough pockets filled with seasoned ground beef and melty cheese, then coated with savory Italian flavors. I’ve watched these disappear within minutes at every gathering! They transform classic burger ingredients into poppable, crowd-pleasing bites perfect for game day or family dinners. Easy to prepare ahead and customize to your taste, these versatile bombs deliver all the satisfaction of a cheeseburger in a fun, portable package. Ready to impress your guests with minimal effort? Let’s make these addictive flavor bombs together!
Table of Contents
Why You’ll Love This Recipe
These garlic parmesan cheeseburger bombs are guaranteed to become a favorite in your home:
- Quick and easy – Ready in under 30 minutes with simple ingredients
- Kid-friendly – All the flavors of a cheeseburger in fun, bite-sized form
- Great for gatherings – Perfect party food that disappears fast
- Make-ahead option – Prep early for stress-free entertaining
- Budget-friendly – Stretches ground beef further than traditional burgers
- Versatile – Works as an appetizer, main dish, or lunchbox treat
The combination of seasoned beef, melty cheese, and garlic parmesan coating creates irresistible flavor bombs everyone will request again and again!
Ingredients Needed
Here’s everything you’ll need to make these delicious garlic parmesan cheeseburger bombs:
For the filling:
- 1 pound ground beef
- 1 small onion, finely diced
- 2 cloves garlic, minced
- 1 tablespoon Worcestershire sauce
- 1 teaspoon salt
- ½ teaspoon black pepper
- 6 slices American or cheddar cheese, cut into quarters
For the dough:
- 1 can (16.3 oz) refrigerated biscuit dough (6 biscuits)
- or 1 can (13.8 oz) refrigerated pizza dough
For the garlic parmesan coating:
- 3 tablespoons butter, melted
- 2 tablespoons grated Parmesan cheese
- 1 teaspoon garlic powder
- ½ teaspoon Italian seasoning
- ¼ teaspoon salt
Optional for serving:
- Ketchup
- Mustard
- Pickle relish
- Ranch dressing
Pro tip: For the best flavor, use 80/20 ground beef rather than extra lean. The slight additional fat keeps the meat juicy inside the bombs. If using leaner meat, consider adding a tablespoon of olive oil when cooking.
All these ingredients should be readily available at your local grocery store, making this an accessible recipe for weeknight cooking or last-minute entertaining!
Instructions
Follow these simple steps to create perfect garlic parmesan cheeseburger bombs recipe every time:
Prepare the Filling
- Cook the beef mixture: In a large skillet over medium heat, brown the ground beef with diced onions until no pink remains, about 5-7 minutes.
- Season: Add minced garlic and cook for 30 seconds until fragrant. Stir in Worcestershire sauce, salt, and pepper.
- Drain and cool: Remove excess fat by draining the mixture in a colander, then return to pan and set aside to cool for about 10 minutes.
Assemble the Bombs
- Prep the workspace: Preheat your oven to 375°F (190°C) and line a baking sheet with parchment paper.
- Prepare the dough: If using biscuit dough, separate the biscuits. For pizza dough, cut into 8 equal portions.
- Flatten each piece: Gently press or roll each dough piece into a 4-inch circle on a lightly floured surface.
- Add filling: Place 1½ tablespoons of the cooled beef mixture in the center of each dough circle, followed by 2-3 cheese quarters.
- Seal the bombs: Gather the edges of the dough, pinching firmly to seal completely. Roll gently between your palms to form a ball shape.
Bake to Perfection
- Apply coating: In a small bowl, combine melted butter, Parmesan cheese, garlic powder, Italian seasoning, and salt. Brush this mixture generously over each dough ball.
- Arrange and bake: Place the bombs seam-side down on the prepared baking sheet, spacing them about 2 inches apart. Bake for 14-16 minutes until golden brown.
- Final touch: If desired, brush with any remaining garlic butter mixture immediately after removing from the oven.
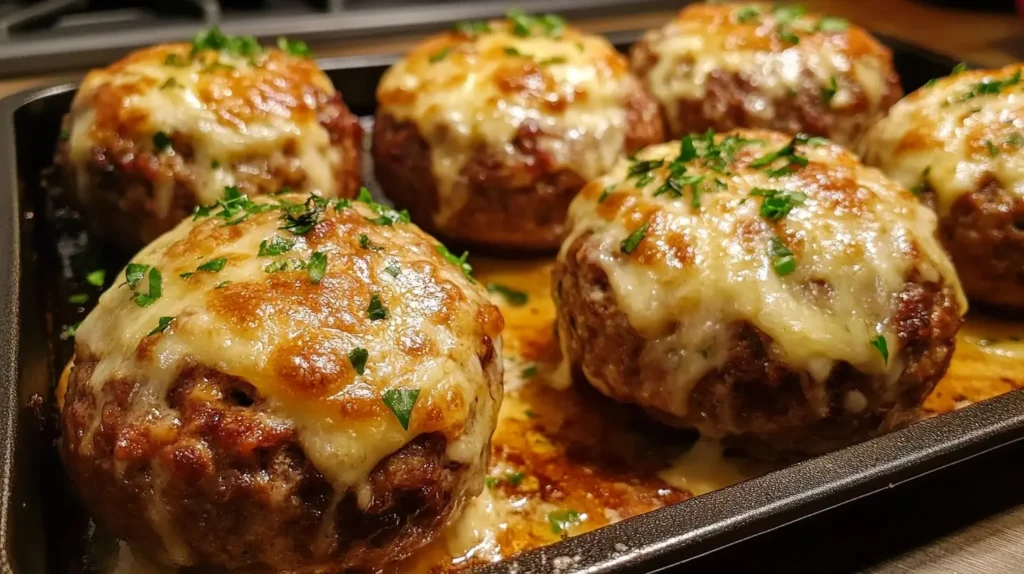
Important tip: Make sure to seal the dough completely around the filling to prevent cheese from leaking during baking. If you spot any thin spots or tears, gently pinch and roll to reinforce them.
Let the cheeseburger bombs cool for 3-5 minutes before serving to avoid burning your mouth on the molten cheese center. Serve warm with your favorite dipping sauces!
Servings and Timing
These garlic parmesan cheeseburger bombs are perfect for feeding a hungry crowd or your family with just the right amount of planning. Here’s what you need to know about servings and timing:
Yield
- This recipe makes 8 cheeseburger bombs when using standard refrigerated biscuit dough
- Each bomb is a satisfying portion – hearty enough for an entrée when paired with sides
- For appetizer portions, consider making them slightly smaller to yield 10-12 bombs
Time Breakdown
- Prep time: 15 minutes
- Cooking time: 14-16 minutes
- Cooling time: 3-5 minutes
- Total time: About 35 minutes
Serving Suggestions
These versatile bombs work wonderfully as:
- An entrée with a simple green salad
- Game day appetizers alongside other finger foods
- After-school snacks for hungry kids
- Party food that can be eaten without utensils
Meal Planning Tips
- Make ahead: Prepare the beef filling up to 2 days in advance and store in the refrigerator
- Assembly line: Get family members involved in the assembly process to speed things up
- Double batch: The recipe doubles easily when feeding a larger crowd – just use two baking sheets
When serving as a main dish, I find that 2 bombs per adult along with some sides creates a satisfying meal. For kids, one bomb is usually plenty when served with vegetables or fruit. The best part? You’ll have dinner on the table in under 40 minutes from start to finish!
Storage/Reheating
Keep your garlic parmesan cheeseburger bombs fresh and delicious with these storage and reheating tips:
Refrigerator Storage
- Store cooled bombs in an airtight container for up to 3 days
- Place parchment paper between layers to prevent sticking
Freezing Instructions
- Fully cool bombs before freezing
- Wrap individually in plastic wrap, then place in a freezer bag
- Label with the date and freeze for up to 2 months
Reheating Methods
From refrigerated:
- Microwave: 20-30 seconds per bomb until heated through
- Oven: 350°F for 5-7 minutes until warm and crisp
- Air fryer: 350°F for 3-4 minutes for optimal crispiness
From frozen:
- Thaw overnight in refrigerator for best results
- Oven: 350°F for 10-12 minutes
- Microwave: 1 minute at 50% power, then 15-second intervals until heated through
Pro tip: For the best texture when reheating, the oven or air fryer methods maintain the crisp exterior better than microwaving.
Variations
Customize these cheeseburger bombs to create exciting new flavors:
garlic parmesan bacon cheeseburger bombs
Add 4-5 crumbled, cooked bacon strips to the beef mixture for smoky flavor that elevates the classic cheeseburger experience.
Pizza Bombs
Substitute pizza sauce for Worcestershire sauce, add pepperoni pieces to the filling, and use mozzarella instead of American cheese.
Breakfast Bombs
Fill with scrambled eggs, breakfast sausage, and cheddar cheese for a morning twist. Brush with maple-butter instead of garlic butter.
Vegetarian Option
Replace beef with a mixture of sautéed mushrooms, black beans, and onions for a hearty meat-free alternative.
Spicy Southwest
Add diced jalapeños and taco seasoning to the beef, use pepper jack cheese, and serve with salsa and sour cream.
Clara’s Tips
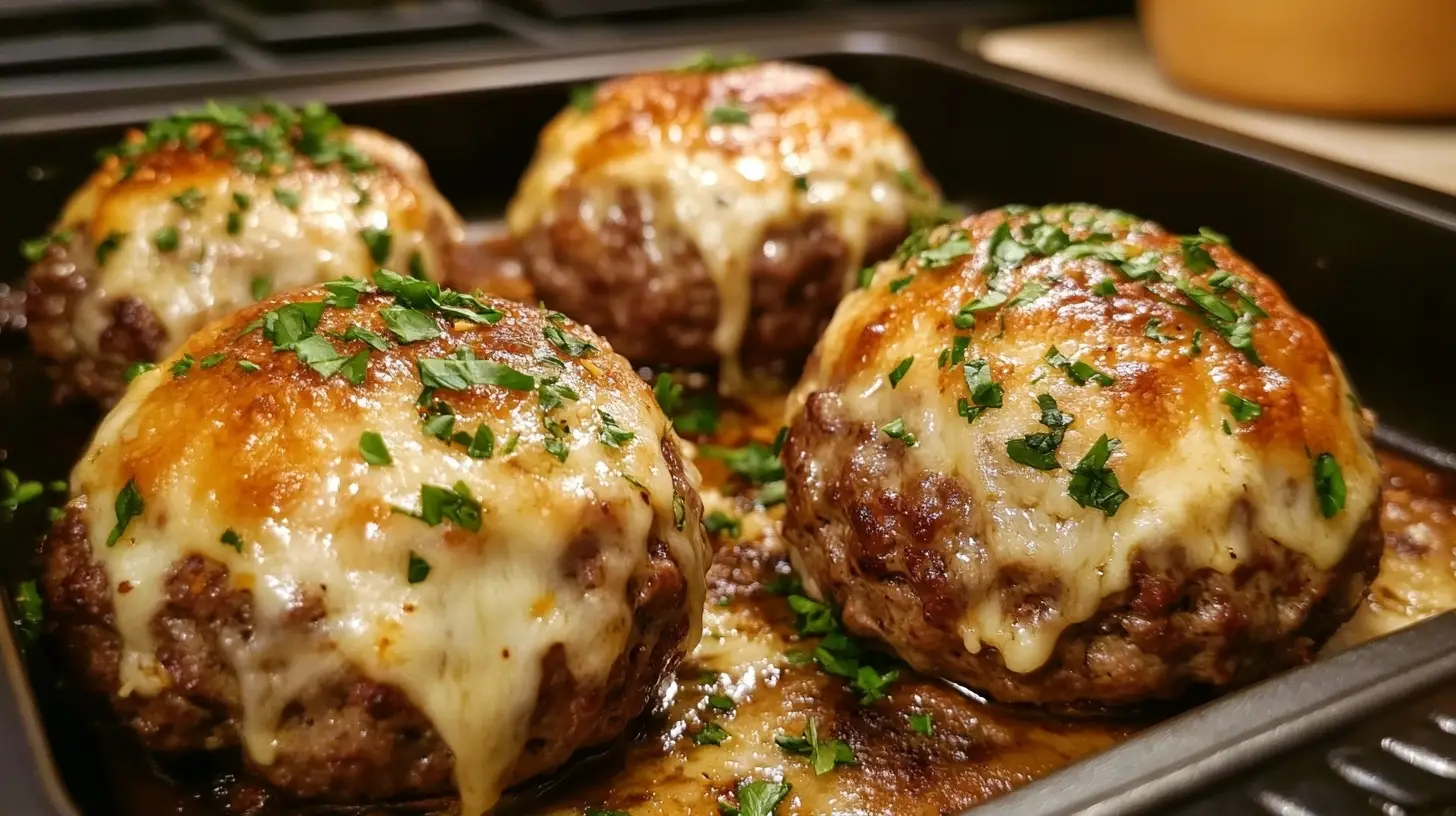
Seal dough completely to prevent leaks and cool beef before filling. Don’t overfill each bomb and flour your hands to prevent sticking. Space bombs 2″ apart and let cool briefly before serving. Our taste test revealed perfect cheese pulls, rich garlic butter flavor, and juicy beef inside a crispy exterior – a delicious combination that’s sure to please everyone at the table.
FAQs
Q: Can I make these ahead of time?
Yes! Prepare the filling up to 2 days ahead and refrigerate. You can also assemble the bombs up to 4 hours before baking – just cover with plastic wrap and refrigerate. Apply the garlic parmesan coating just before baking.
Q: My cheese keeps leaking out during baking. What am I doing wrong?
Make sure to completely seal the dough around the filling by pinching and twisting the edges firmly. Also, using cold cheese and not overfilling help prevent leakage.
Q: Can I use homemade biscuit dough instead of store-bought?
Absolutely! Homemade biscuit or pizza dough works wonderfully. Just portion it into 8 equal parts and proceed with the recipe.
Q: My family doesn’t eat beef. Can I substitute other meats?
Yes! Ground turkey, chicken, or even plant-based meat alternatives work well. Just adjust seasonings as needed since these proteins have milder flavors than beef.
Q: How do I know when they’re done baking?
The bombs should be golden brown on the outside, and if you carefully break one open, the dough should be fully cooked with no raw spots.
Conclusion
These garlic parmesan cheeseburger bombs transform the classic burger experience into convenient, flavor-packed bites everyone will love. With simple ingredients, straightforward preparation, and endless customization options, they’re perfect for weeknight dinners, game day gatherings, or anytime you need a crowd-pleasing dish. The irresistible combination of seasoned beef, melty cheese, and garlic parmesan coating delivers big flavor in every bite. Try them once, and they’ll quickly become a requested favorite in your home!
Happy Cooking.
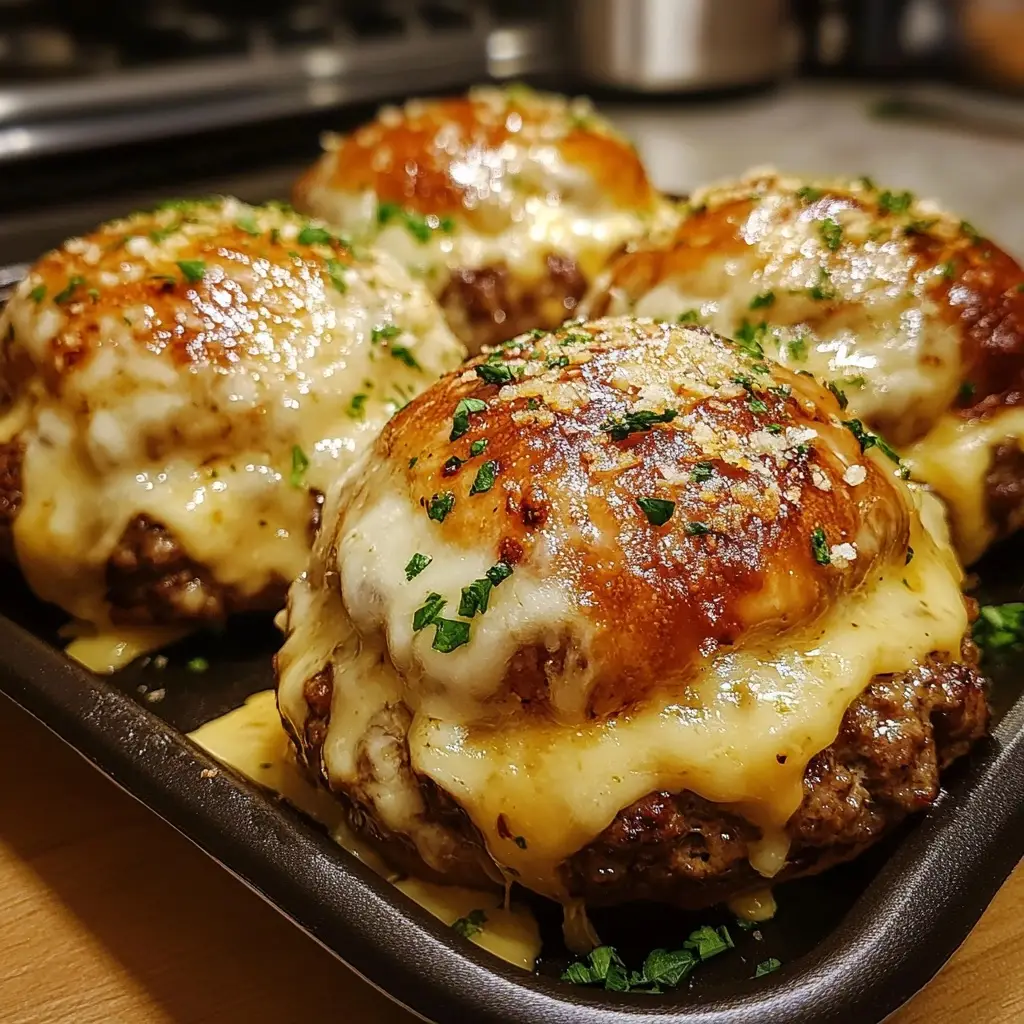
garlic parmesan cheeseburger bombs
Ingredients
Method
- Prep: Preheat oven to 375°F. Line baking sheet with parchment.
- Cook Filling: Brown beef and onions. Add garlic, Worcestershire sauce, salt and pepper. Drain excess fat and cool.
- Assemble: Flatten each biscuit into a 4-inch circle. Add 1½ tbsp beef mixture and 2-3 cheese quarters to center.
- Seal: Gather edges and pinch firmly to seal completely. Roll into balls.
- Season: Mix melted butter with Parmesan, garlic powder, and Italian seasoning. Brush over dough balls.
- Bake: Place bombs seam-side down. Bake 14-16 minutes until golden brown.
- Serve: Let cool 3-5 minutes before serving.
Notes
Nutrition Information (per serving)
- Calories: 285 per bomb
- Fat: 16g
- Saturated Fat: 7g
- Cholesterol: 45mg
- Sodium: 690mg
- Carbohydrates: 21g
- Fiber: 1g
- Sugar: 2g
- Protein: 14g




Did you make this recipe?
Share a photo and tag us, we can’t wait to see what you’ve made!