

Why You’ll Love This Recipe
- Fresh Ingredients: This cheesecake uses real cream cheese and fresh heavy cream for a rich, creamy texture.
- Ease of Preparation: With just a few simple steps, you’ll create a stunning dessert without much hassle.
- Versatility: This cheesecake is great for any occasion, from birthday parties to casual family dinners.
- Gorgeous Presentation: Topped with salted caramel sauce and whipped cream, it looks as good as it tastes.
- Broad Appeal: Whether you’re a cheesecake lover or a caramel fan, this dessert has something for everyone.
You and your guests will love every bite.
Preparation and Cooking Time
- Total time: 8 hours (includes chilling)
- Preparation time: 30 minutes
- Cooking time: 35 minutes
Ingredients You’ll Need
- 1 1/2 cups graham cracker crumbs
- 1/4 cup granulated sugar
- 6 tablespoons unsalted butter, melted
- 1/4 teaspoon salt
- 1 cup granulated sugar
- 6 tablespoons unsalted butter, cut into pieces
- 1/2 cup heavy cream, room temperature
- 1 teaspoon flaky sea salt (plus more for garnish)
- 3 (8 oz) packages cream cheese, softened
- 3/4 cup granulated sugar
- 3 large eggs, room temperature
- 1/4 cup sour cream
- 2 teaspoons vanilla extract
- 2 tablespoons all-purpose flour
- Whipped cream
- Additional salted caramel sauce
- Toffee bits (optional)
Step-by-Step Instructions
- Prepare a 7-inch springform pan by lining the bottom with parchment paper and greasing the sides.
- Make the crust: In a medium bowl, mix graham cracker crumbs, sugar, melted butter, and salt. Press this mixture into the bottom and about 1 inch up the sides of the pan. Freeze while you prepare the other parts.
- Make the salted caramel: In a medium saucepan, heat sugar over medium heat, stirring constantly. The sugar will clump and then melt into a deep amber liquid in about 8-10 minutes.
- Once melted, add the butter carefully, stirring until melted, about 2 minutes.
- Slowly drizzle in the heavy cream while stirring. The mixture will bubble. Let it boil for 1 minute.
- Remove from heat and stir in sea salt. Let it cool slightly. Reserve 1/4 cup for topping.
- Make the cheesecake filling: Beat cream cheese and sugar in a large bowl until smooth and creamy.
- Add eggs one at a time, beating well after each addition. Stir in sour cream, vanilla, and flour until combined.
- Assemble the cheesecake: Remove the crust from the freezer. Pour half of the cheesecake batter over it.
- Drizzle half of the remaining caramel sauce (not the reserved 1/4 cup) over the batter. Use a knife to swirl gently.
- Pour the remaining cheesecake batter on top. Drizzle with the rest of the caramel sauce and swirl gently again.
- Prepare your pressure cooker: Pour 1 cup of water into the inner pot. Create a foil sling with a 20-inch piece of foil and place it in the pot.
- Cover the top of the pan with aluminum foil. Put the pan on the sling in the cooker.
- Secure the lid and set the valve to sealing. Cook on High pressure for 35 minutes.
- After cooking, let the pressure release naturally for 10 minutes, then quick-release any remaining pressure.
- Use the sling to remove the cheesecake from the cooker. Remove the foil cover and let it cool on a wire rack for 1 hour.
- Refrigerate for at least 6 hours or overnight.
- Before serving, run a knife around the edge and release the springform ring. Drizzle with the reserved caramel sauce and sprinkle with flaky sea salt. Add whipped cream and toffee bits if desired.
How to Serve
- Presentation: For an impressive display, serve slices with a drizzle of caramel and a dollop of whipped cream.
- Accompaniments: Pair this cheesecake with fresh berries for a colorful contrast.
- Portions: Cut into small slices, as this cheesecake is rich and indulgent.
- Beverage Pairing: Enjoy with coffee, tea, or a glass of dessert wine.
This cheesecake is sure to impress your guests!
Additional Tips
- Add a pinch of cinnamon to the crust for extra flavor.
- Customize the toppings by adding chocolate sauce or nuts.
- Serve with fresh fruit to balance the richness.
Recipe Variations
- Chocolate Swirl: Use chocolate syrup instead of salted caramel for a decadent chocolate cheesecake.
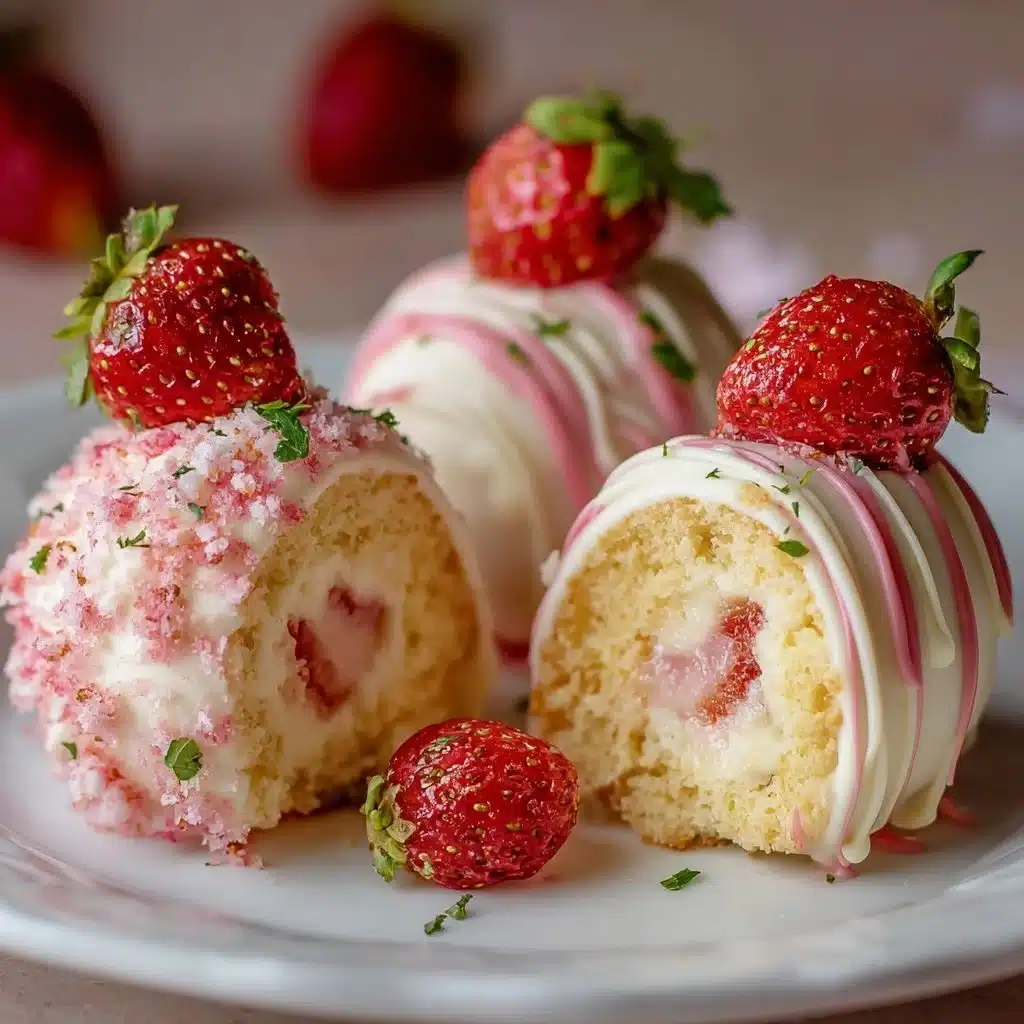
- Fruit Topping: Top with fresh strawberries or raspberries for a fruity twist.
- Nut Crust: Substitute some of the graham crackers with crushed nuts for added texture.
Freezing and Storage
- Storage: Keep the cheesecake in the refrigerator for up to 5 days in an airtight container.
- Freezing: You can freeze cheesecake slices for up to 2 months. Wrap tightly in plastic wrap and foil.
Special Equipment
- 7-inch springform pan
- Pressure cooker
- Mixing bowls
- Heavy-bottomed saucepan
- Foil sling
FAQ’s
- Can I use frozen ingredients? Yes, you can use frozen cream cheese, but thaw it completely before mixing.
- Is this cheesecake suitable for gluten-free diets? You can make it gluten-free by using gluten-free graham cracker crumbs.
- Can I make it ahead of time? Yes, this cheesecake can be made a day or two in advance for convenience.
- Can I customize the flavors? Absolutely! You can add different extracts or toppings based on your preference.
- What if I don’t have a pressure cooker? You can bake the cheesecake in a regular oven at 325°F, but cooking times will vary.
Conclusion
This One Pot Salted Caramel Cheesecake is a showstopper that combines creamy cheesecake with rich caramel flavor. Perfect for celebrations or casual treats, this dessert satisfies everyone’s sweet tooth. Get ready to enjoy a dessert that’s not only delicious but also simple to make. You’ll impress your friends and family with every bite!

One Pot Salted Caramel Cheesecake
A rich and creamy cheesecake topped with salted caramel sauce, perfect for any occasion from birthday parties to casual family dinners.
Ingredients
Method
Preparation
- Prepare a 7-inch springform pan by lining the bottom with parchment paper and greasing the sides.
- In a medium bowl, mix graham cracker crumbs, sugar, melted butter, and salt. Press this mixture into the bottom and about 1 inch up the sides of the pan. Freeze while you prepare the other parts.
Making Salted Caramel
- In a medium saucepan, heat sugar over medium heat, stirring constantly. The sugar will clump and then melt into a deep amber liquid in about 8-10 minutes.
- Once melted, add the butter carefully, stirring until melted, about 2 minutes.
- Slowly drizzle in the heavy cream while stirring. The mixture will bubble. Let it boil for 1 minute.
- Remove from heat and stir in sea salt. Let it cool slightly. Reserve 1/4 cup for topping.
Preparing Cheesecake Filling
- Beat cream cheese and sugar in a large bowl until smooth and creamy.
- Add eggs one at a time, beating well after each addition. Stir in sour cream, vanilla, and flour until combined.
Assembling the Cheesecake
- Remove the crust from the freezer. Pour half of the cheesecake batter over it.
- Drizzle half of the remaining caramel sauce (not the reserved 1/4 cup) over the batter. Use a knife to swirl gently.
- Pour the remaining cheesecake batter on top. Drizzle with the rest of the caramel sauce and swirl gently again.
Cooking
- Pour 1 cup of water into the inner pot of your pressure cooker.
- Create a foil sling with a 20-inch piece of foil and place it in the pot.
- Cover the top of the pan with aluminum foil. Put the pan on the sling in the cooker.
- Secure the lid and set the valve to sealing. Cook on High pressure for 35 minutes.
- After cooking, let the pressure release naturally for 10 minutes, then quick-release any remaining pressure.
- Use the sling to remove the cheesecake from the cooker. Remove the foil cover and let it cool on a wire rack for 1 hour.
- Refrigerate for at least 6 hours or overnight.
Serving
- Before serving, run a knife around the edge and release the springform ring. Drizzle with the reserved caramel sauce and sprinkle with flaky sea salt. Add whipped cream and toffee bits if desired.
Notes
For an impressive display, serve slices with a drizzle of caramel and a dollop of whipped cream. Keep the cheesecake in the refrigerator for up to 5 days in an airtight container. You can freeze cheesecake slices for up to 2 months. Wrap tightly in plastic wrap and foil.


Did you make this recipe?
Share a photo and tag us, we can’t wait to see what you’ve made!